Have you dreamed of upgrading your patio or walkway? This Step-by-Step Guide to Stamped Concrete Installation for Homeowners shows how to do it. Many homeowners want a stylish, durable surface without the cost of natural stone. Stamped concrete delivers that look with less hassle. You’ll learn how it works, when to install it, and why it’s worth every penny.
How Homeowners Can Master Stamped Concrete Installation Easily
Stamped concrete offers a beautiful and cost-effective way to improve your outdoor spaces. Let’s explore the full process in detail.
What Is Stamped Concrete and Why Choose It?
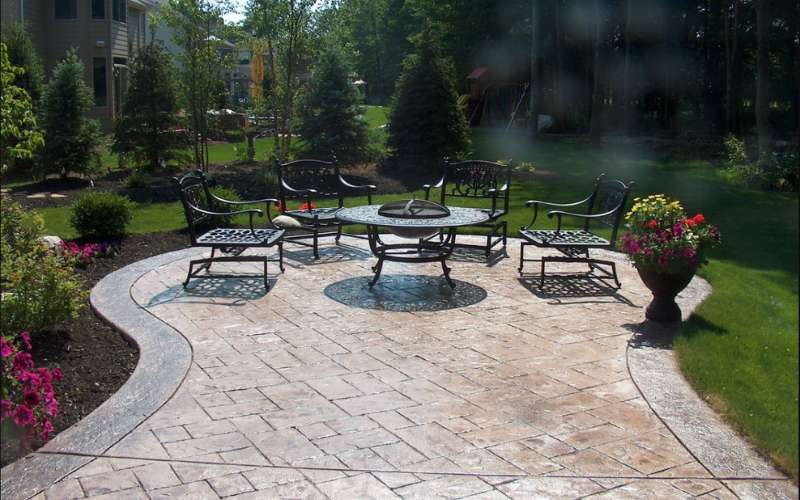
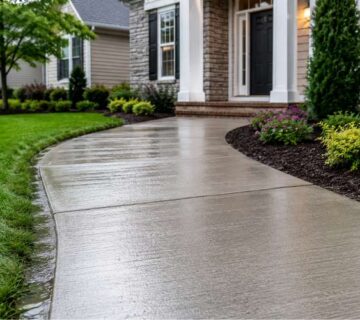
Stamped concrete mimics the appearance of brick, slate, stone, or tile. It’s perfect for driveways, patios, and walkways.
This option is affordable, stylish, and long-lasting. Moreover, it requires less maintenance than natural stone or pavers.
Key Benefits:
- Increases property value
- Offers a wide variety of patterns
- Resists wear and weather damage
- Requires less upkeep than other materials
Step 1 – Plan and Design Your Concrete Project
Every great concrete job starts with a strong plan. First, measure the area and choose your desired pattern and color.
Next, decide if you’ll handle it yourself or hire professionals. A clear plan ensures a smooth process.
Things to consider:
- Size of the area
- Type of pattern (stone, tile, brick)
- Color choices that match your home
- Drainage and slope needs
Step 2 – Prepare the Site Properly
Good preparation makes a big difference. Begin by clearing the area of debris, grass, and any old material.
Then, dig down to the right depth, usually around 4 inches. Add a gravel base for strong support.
Pro tip: Compact the base with a machine to avoid cracks later.
Step 3 – Build the Formwork and Pour Concrete
Next, set up sturdy wooden forms to shape the concrete. Make sure they’re level and tightly secured.
After that, pour the concrete evenly across the surface. Work quickly, as it begins to dry fast.
Use a screed to level the concrete and a bull float to smooth it out.
Step 4 – Add Color and Texture
There are two ways to add color: integral coloring (mixed into the concrete) or color hardener (applied on top).
Once colored, apply a release agent to help prevent the stamps from sticking. This step also adds contrast.
Now press the stamps into the surface using even pressure. Continue until the entire area is stamped.
Step 5 – Let It Cure and Seal
Let the concrete cure for 24 to 48 hours. Avoid walking on it during this time.
After curing, rinse off the release agent. Then apply a concrete sealer to protect the surface and bring out the color.
Sealer benefits include:
- Protects from stains and moisture
- Enhances color depth
- Extends the life of your concrete
Maintenance Tips for Long-Lasting Results
Maintaining stamped concrete is simple. However, proper care makes it last even longer.
- Sweep regularly to remove dirt
- Reseal every 2–3 years
- Avoid using harsh chemicals
- Fix small cracks quickly to avoid spreading
Is DIY a Good Idea?
While many homeowners try DIY stamped concrete, it requires skill and experience. Even one mistake can be costly.
If unsure, consider hiring a professional. This guarantees a high-quality finish and saves time and stress.
Get Started with Your Stamped Concrete Project Today
Transform your outdoor space with confidence and style. Our Step-by-Step Guide to Stamped Concrete Installation for Homeowners has shown you the way. If you’re ready to start, contact us for expert advice or professional service. Let’s bring your concrete vision to life—call now and book your free consultation!


No comment